Allow users authenticated with Okta to view your private status page
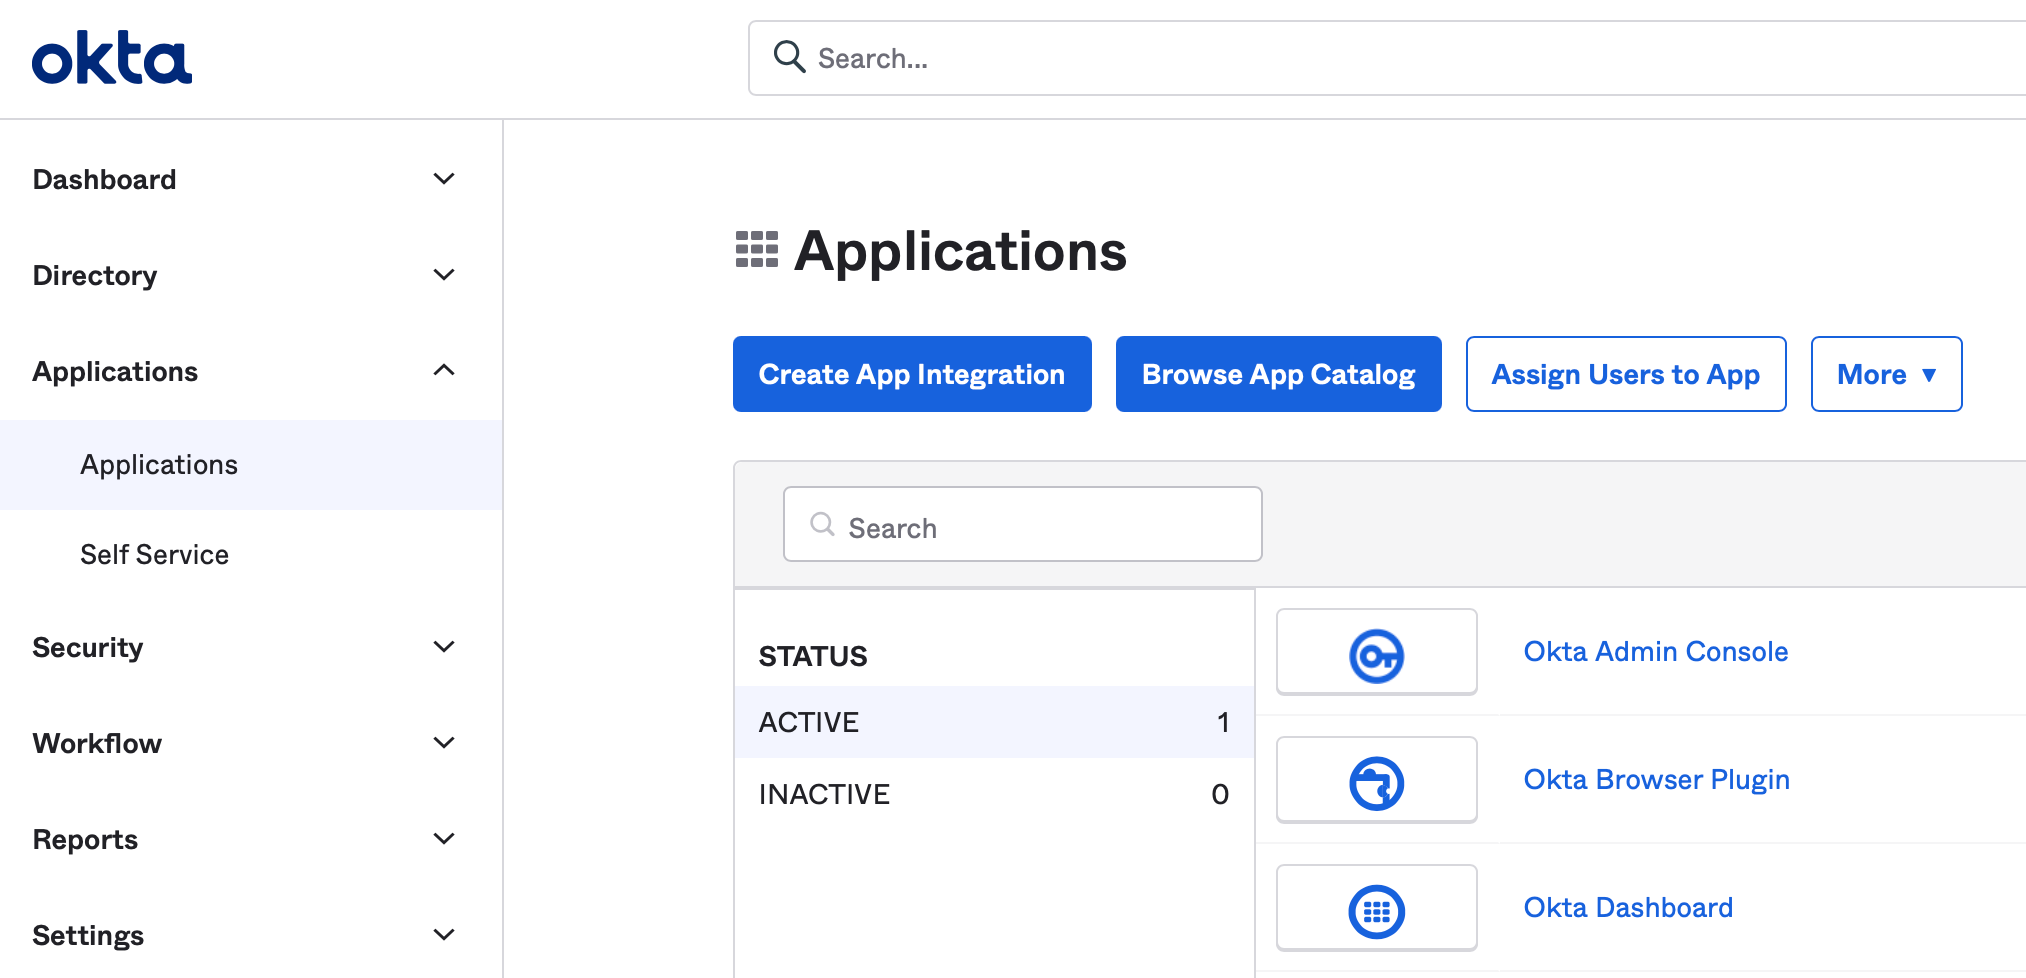
Step 1
Sign in to your Okta account
Select Applications
Select Create App Integration
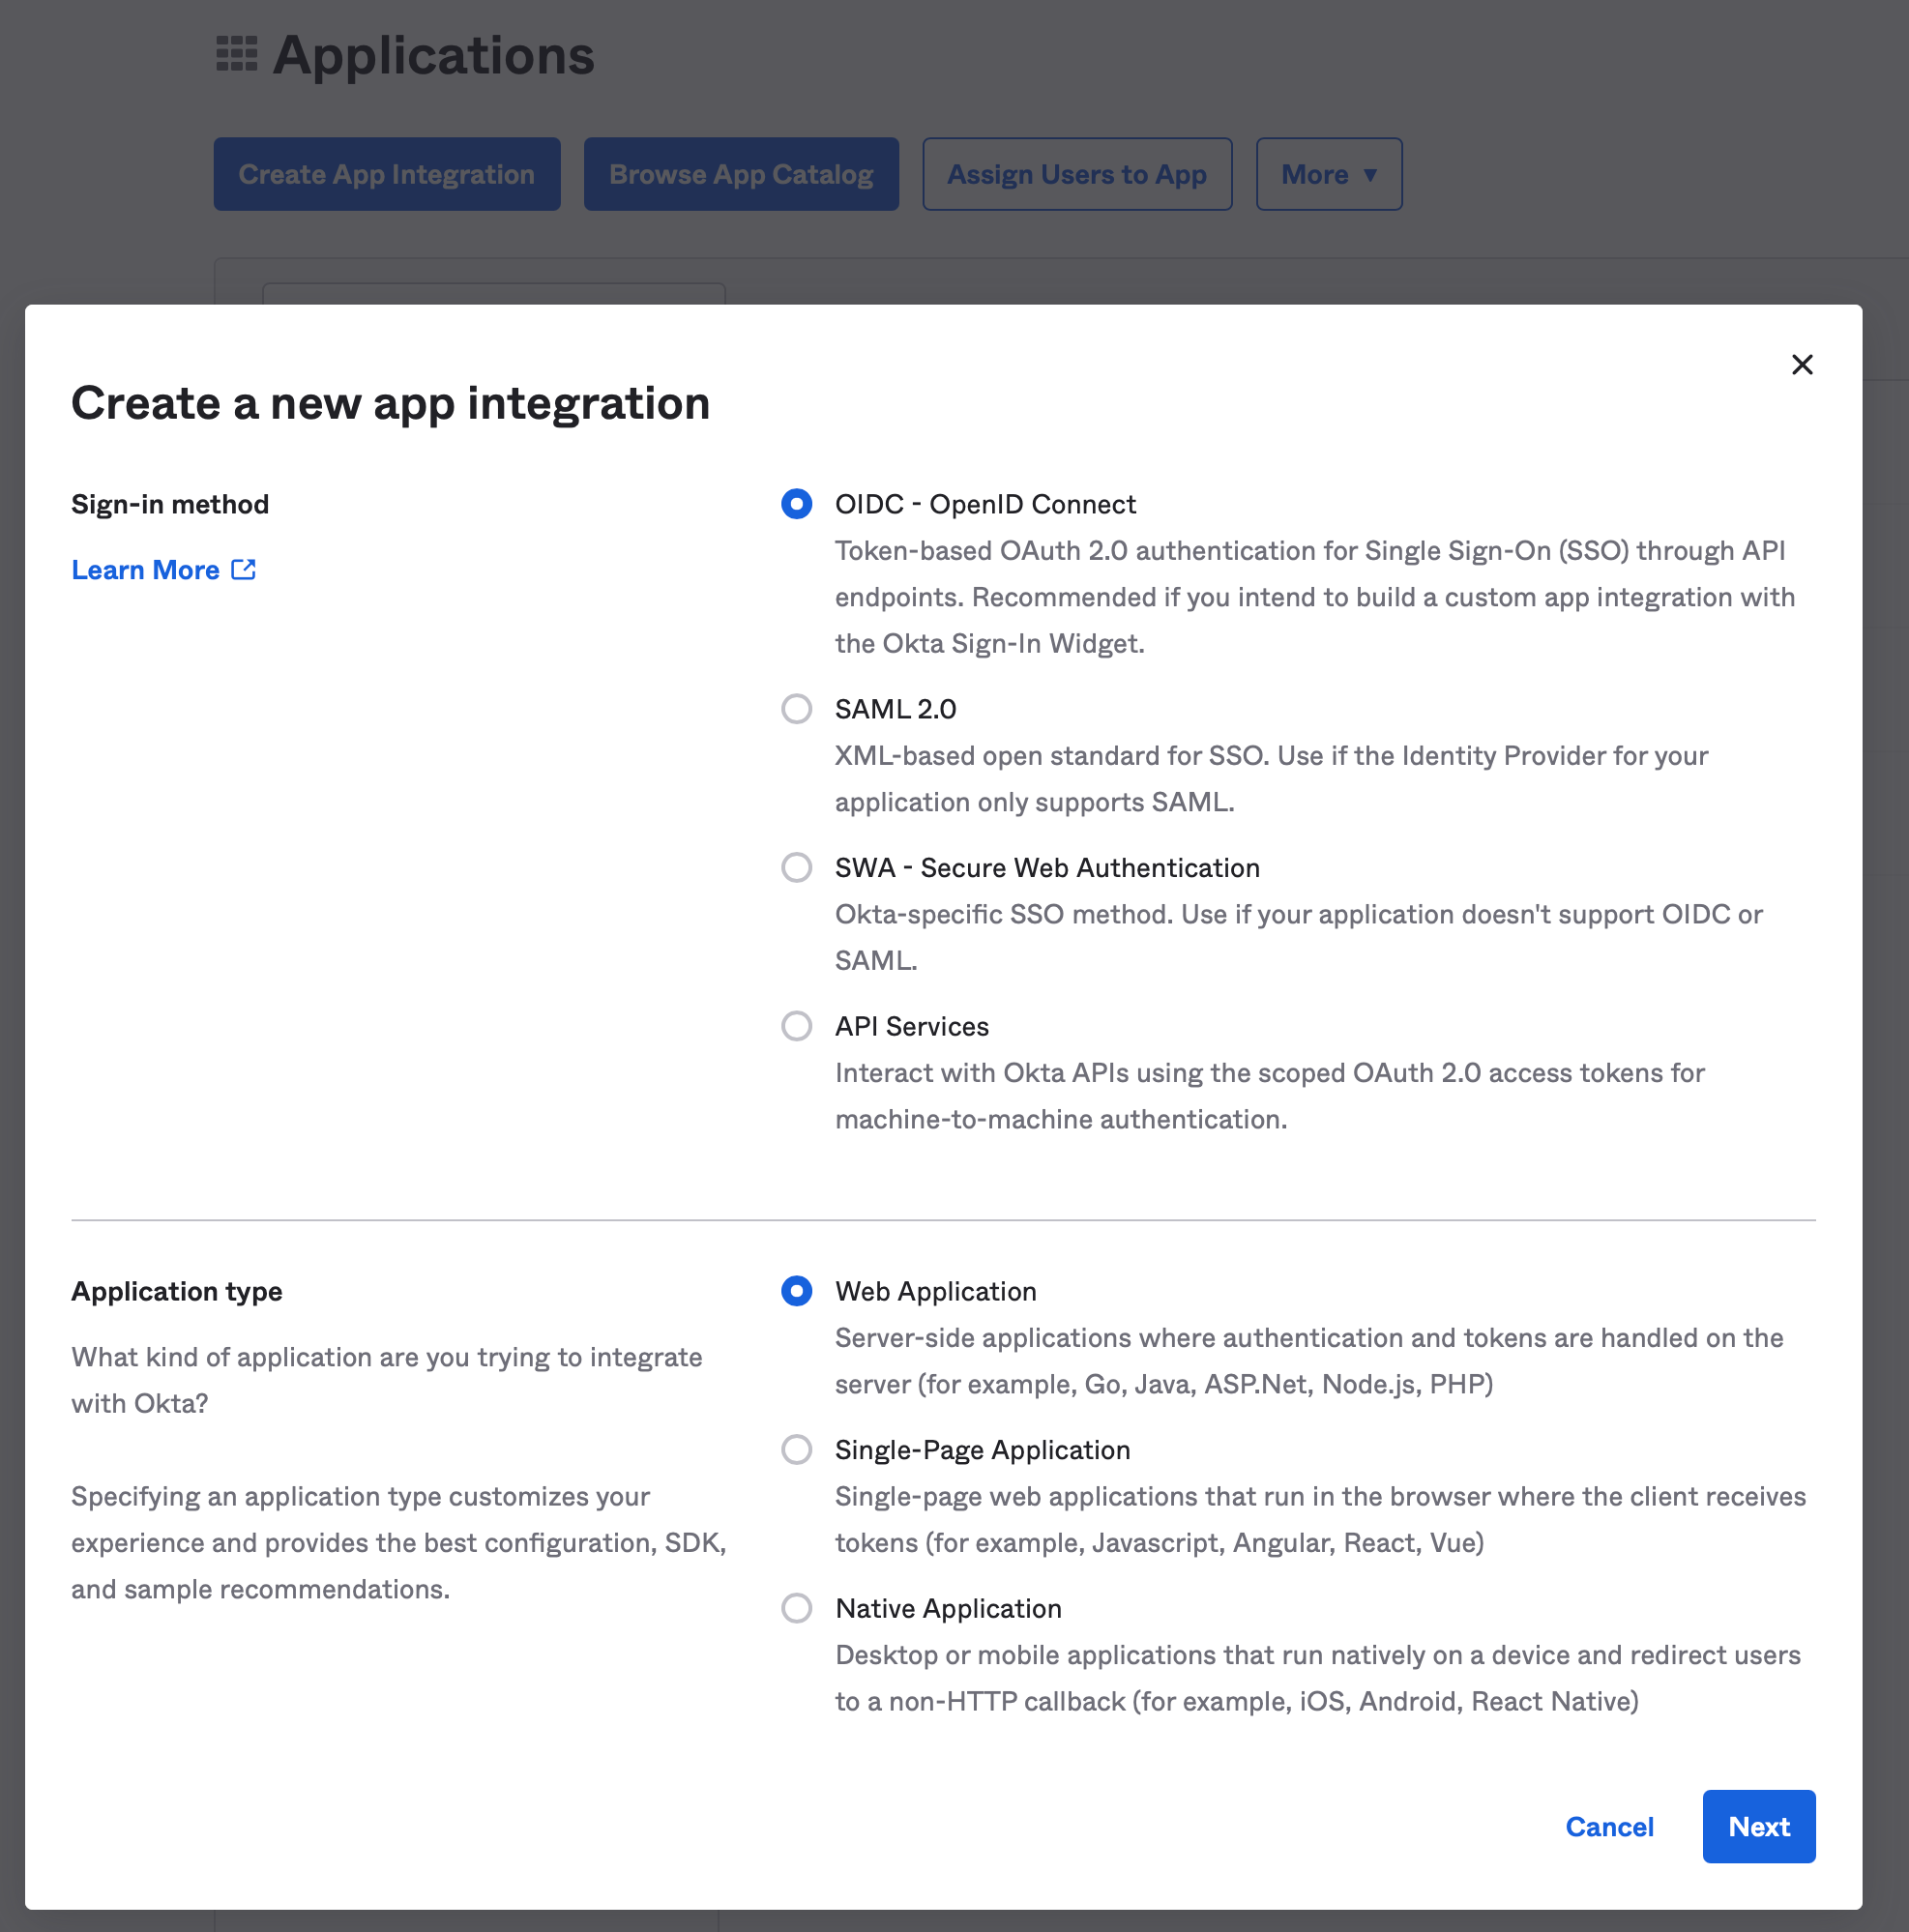
Step 2
Choose Sign-in method: OIDC – OpenID Connect
Choose Application type: Web Application
Click Next
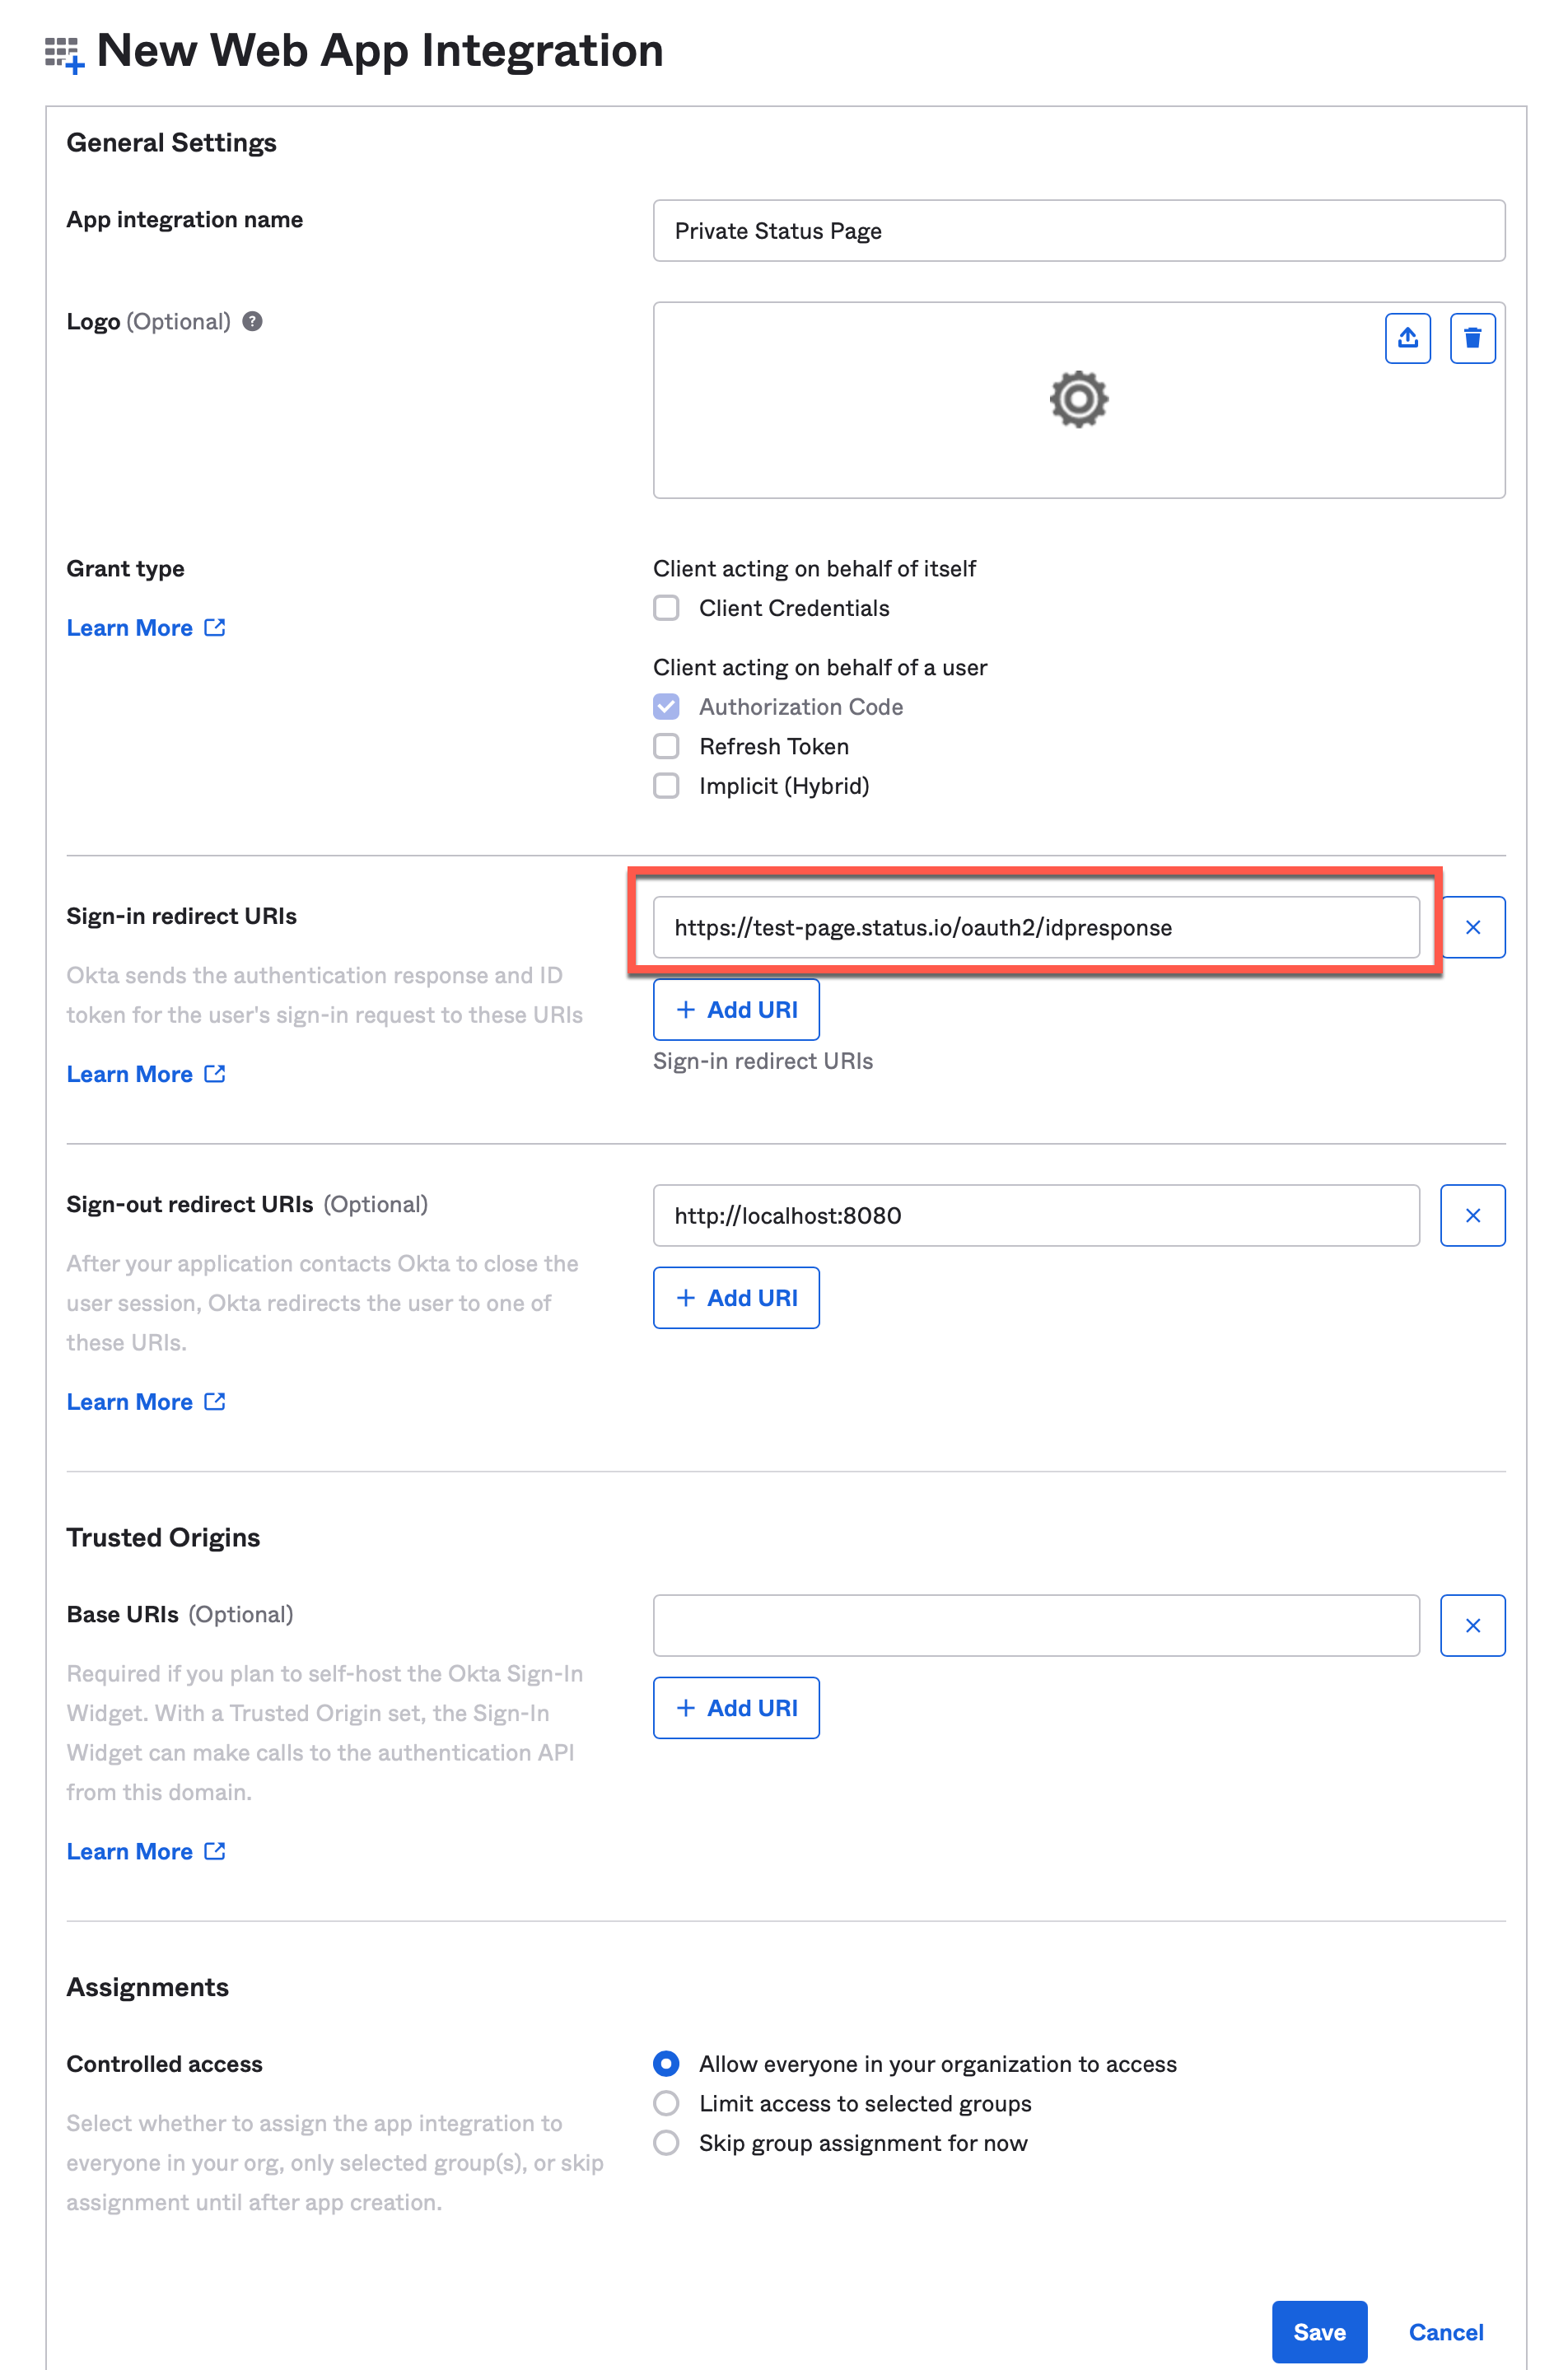
Step 3
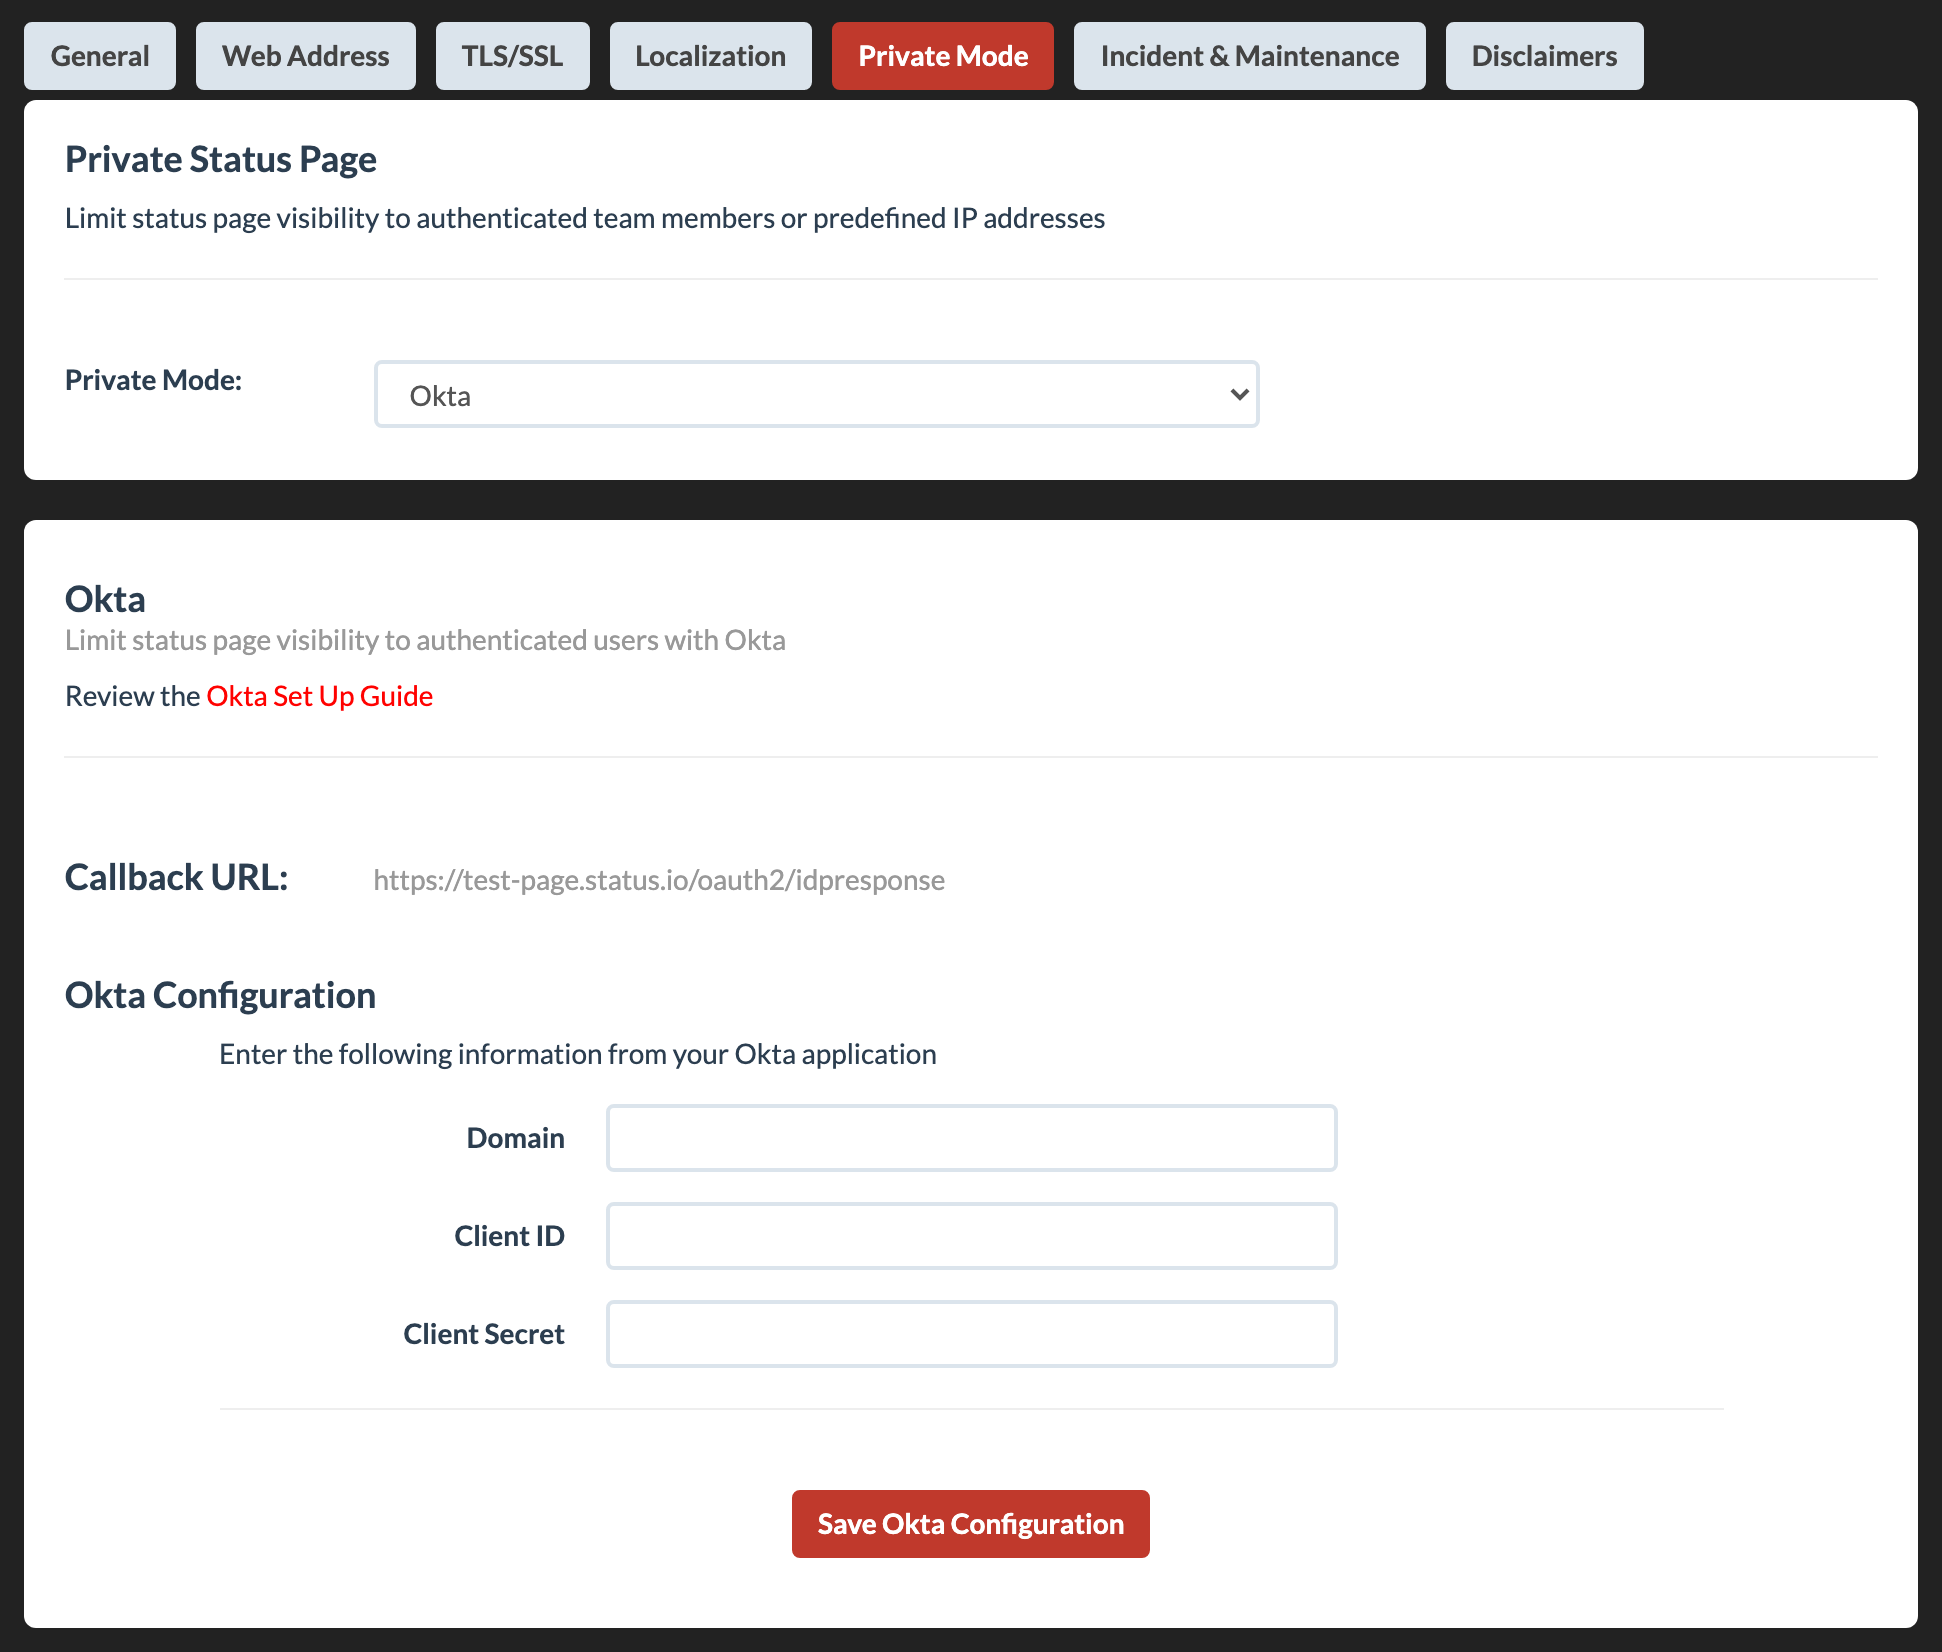
Enter the Callback URL from your Status.io account into the Sign-in redirect URIs field
Choose the appropriate Controlled Access setting for your organization
Click Save
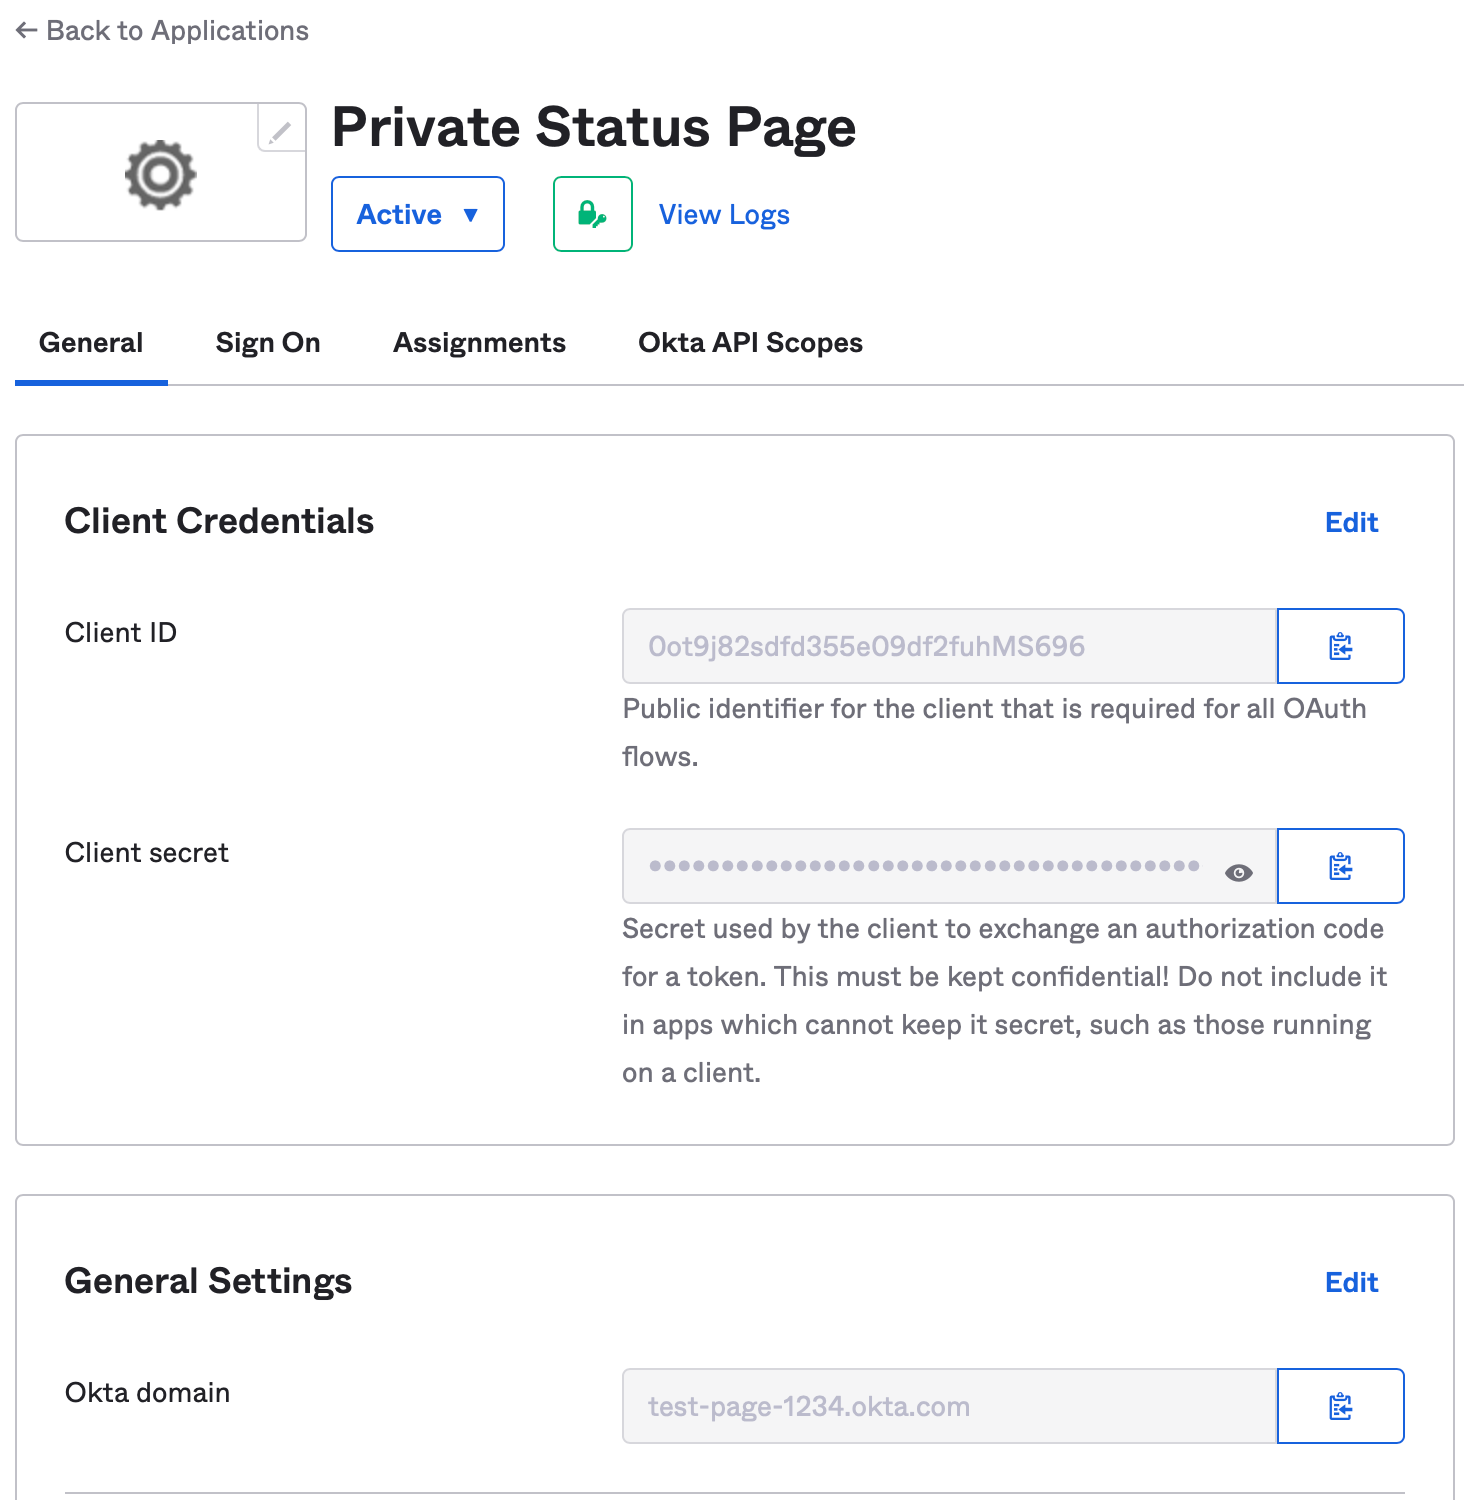
Step 4
Copy the Client ID, Client Secret and Okta Domain
Step 5
Enter the Okta settings in the Status.io Dashboard
Update Client Secret
Rotate your client secret without disabling private mode or causing downtime.
Go to the Private Mode tab in your Status.io account and scroll down to the Update Client Secret section.

Troubleshooting
If you’re experiencing issues with your private status page, view Troubleshooting Private Pages for more information.