This guide provides a basic overview of setting up a status page with Status.io. Since status pages are not one-size-fits-all, numerous advanced customization options are available but are beyond the scope of this guide.
Let’s focus on the essentials to help you set up your status page quickly and efficiently.
Configure General Settings
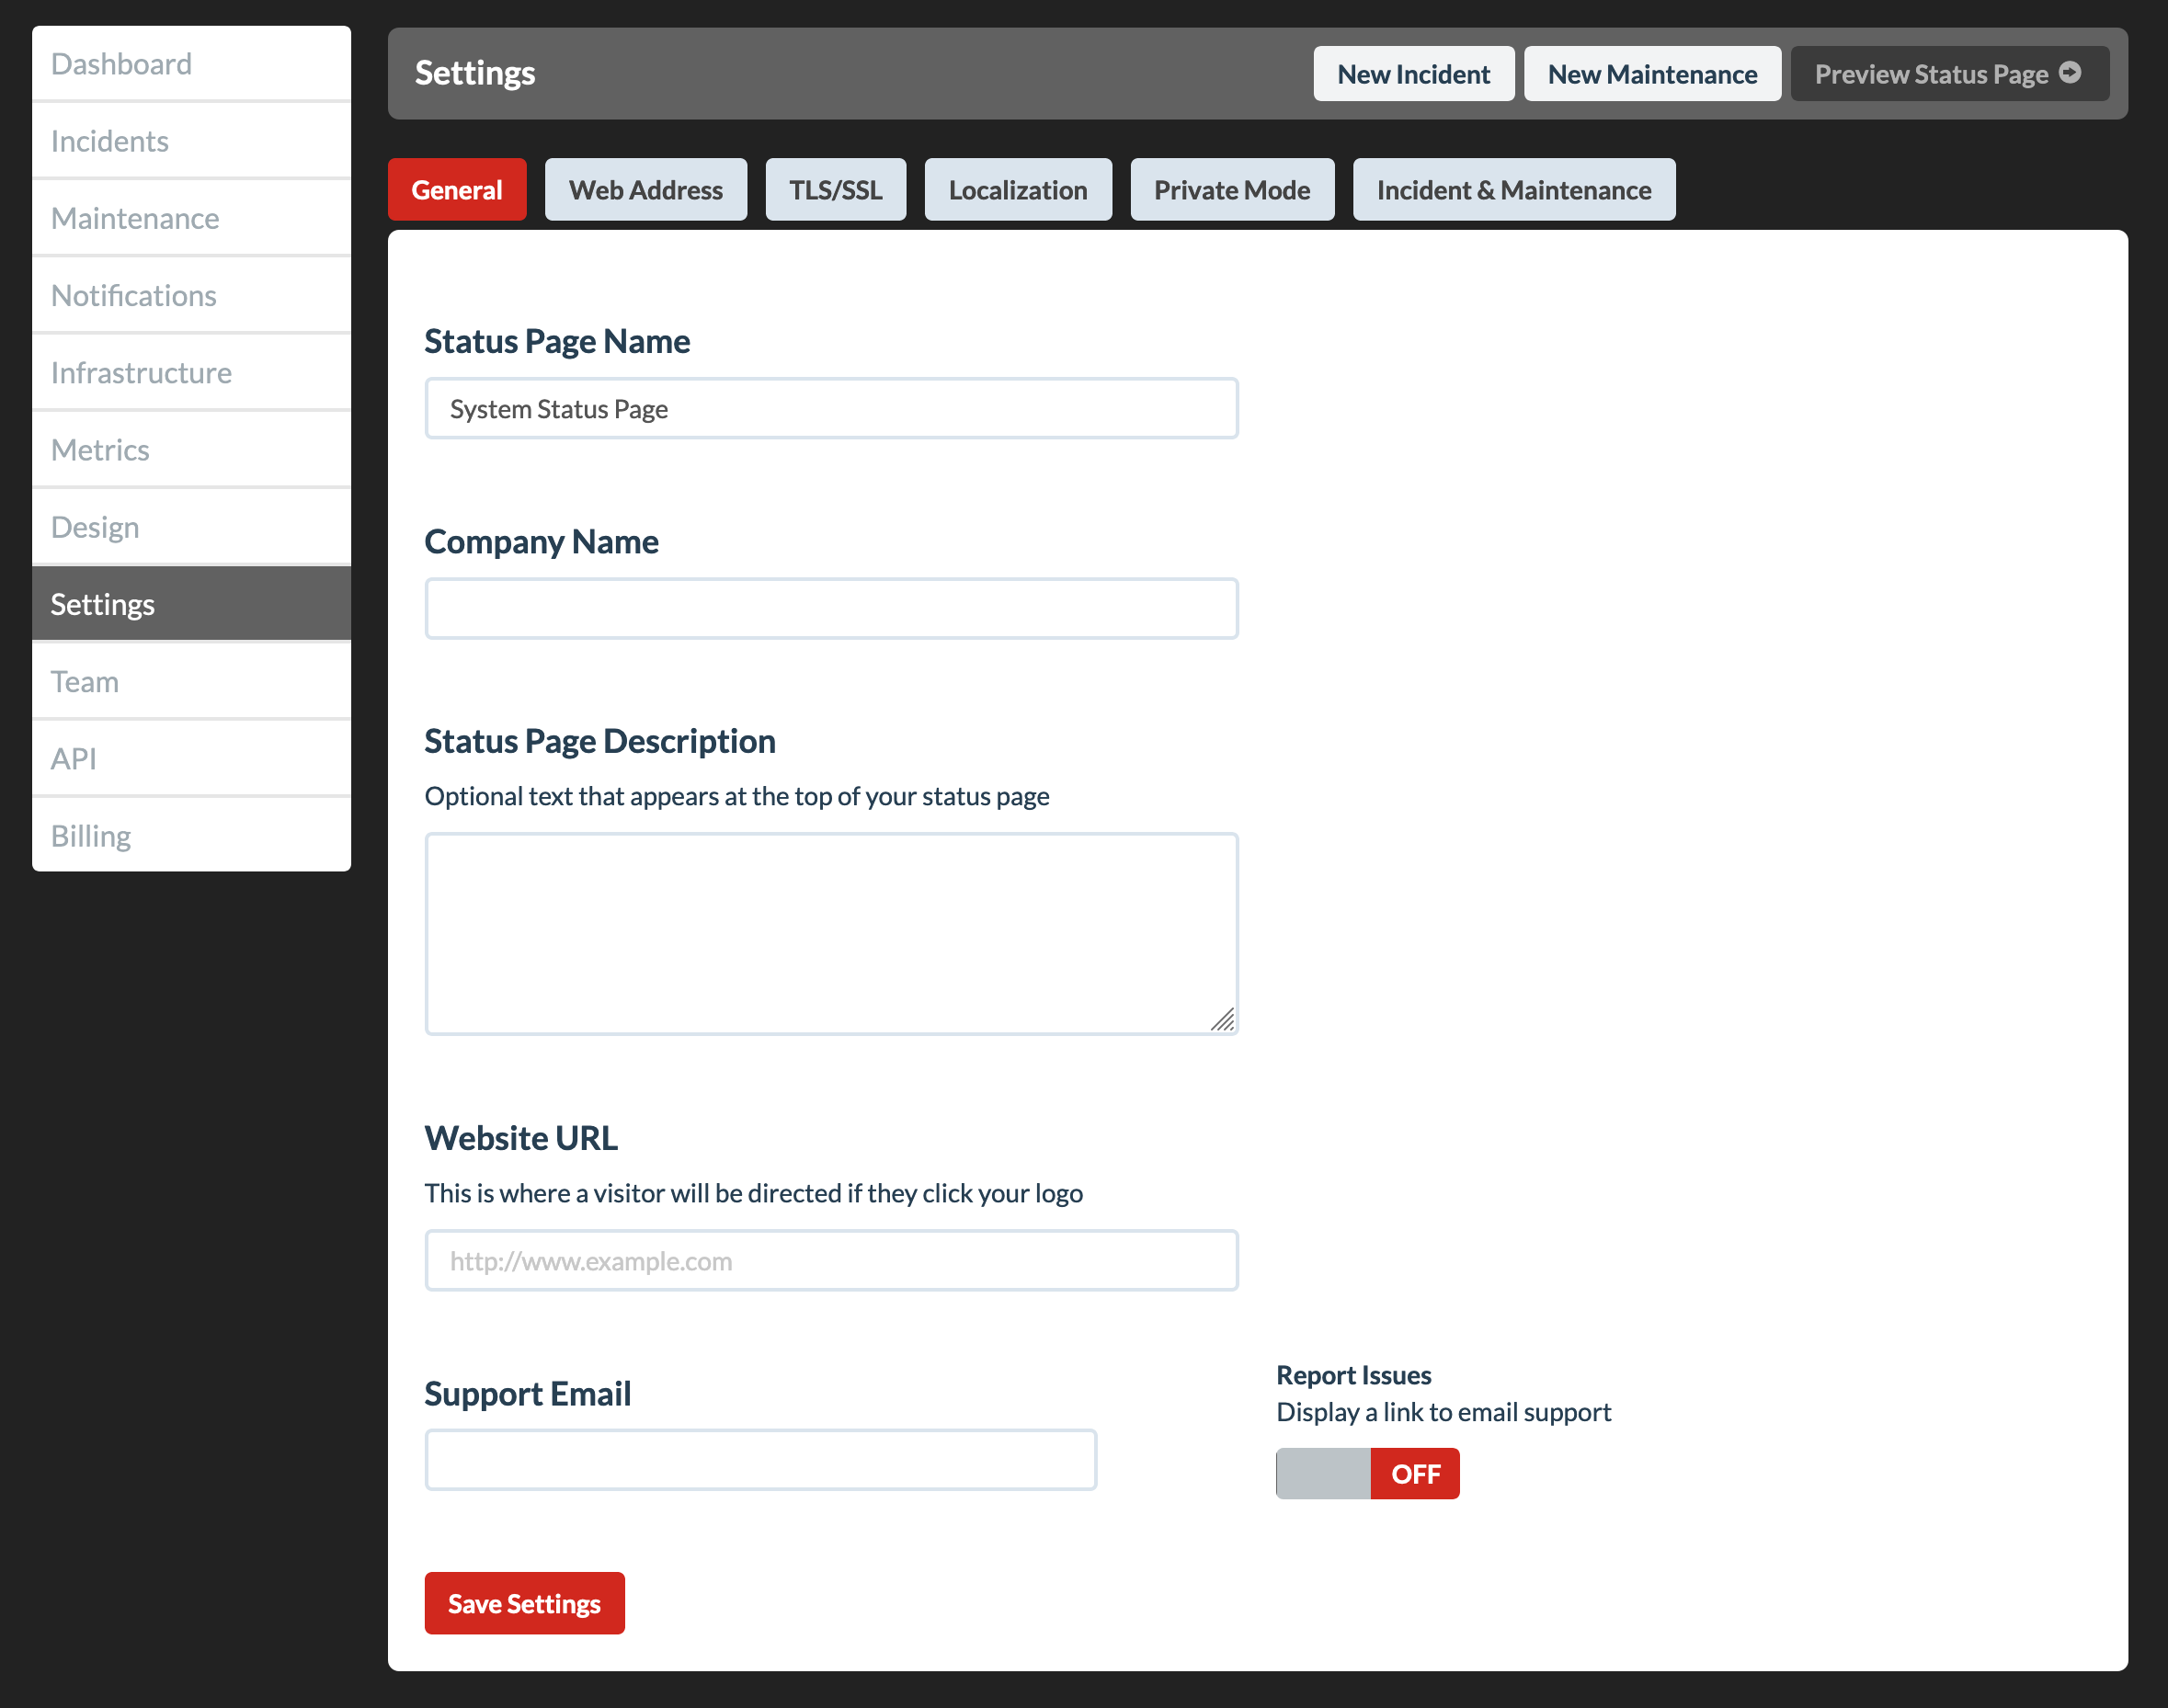
Begin with the Settings tab in the Status.io dashboard. Here, you’ll configure essential details, including:
• URL: Set the web address for your status page.
• Timezone: Select the appropriate timezone for accurate timestamps.
• Additional general settings to customize your status page.
These foundational settings ensure your status page is tailored to your needs.

Customize the Design
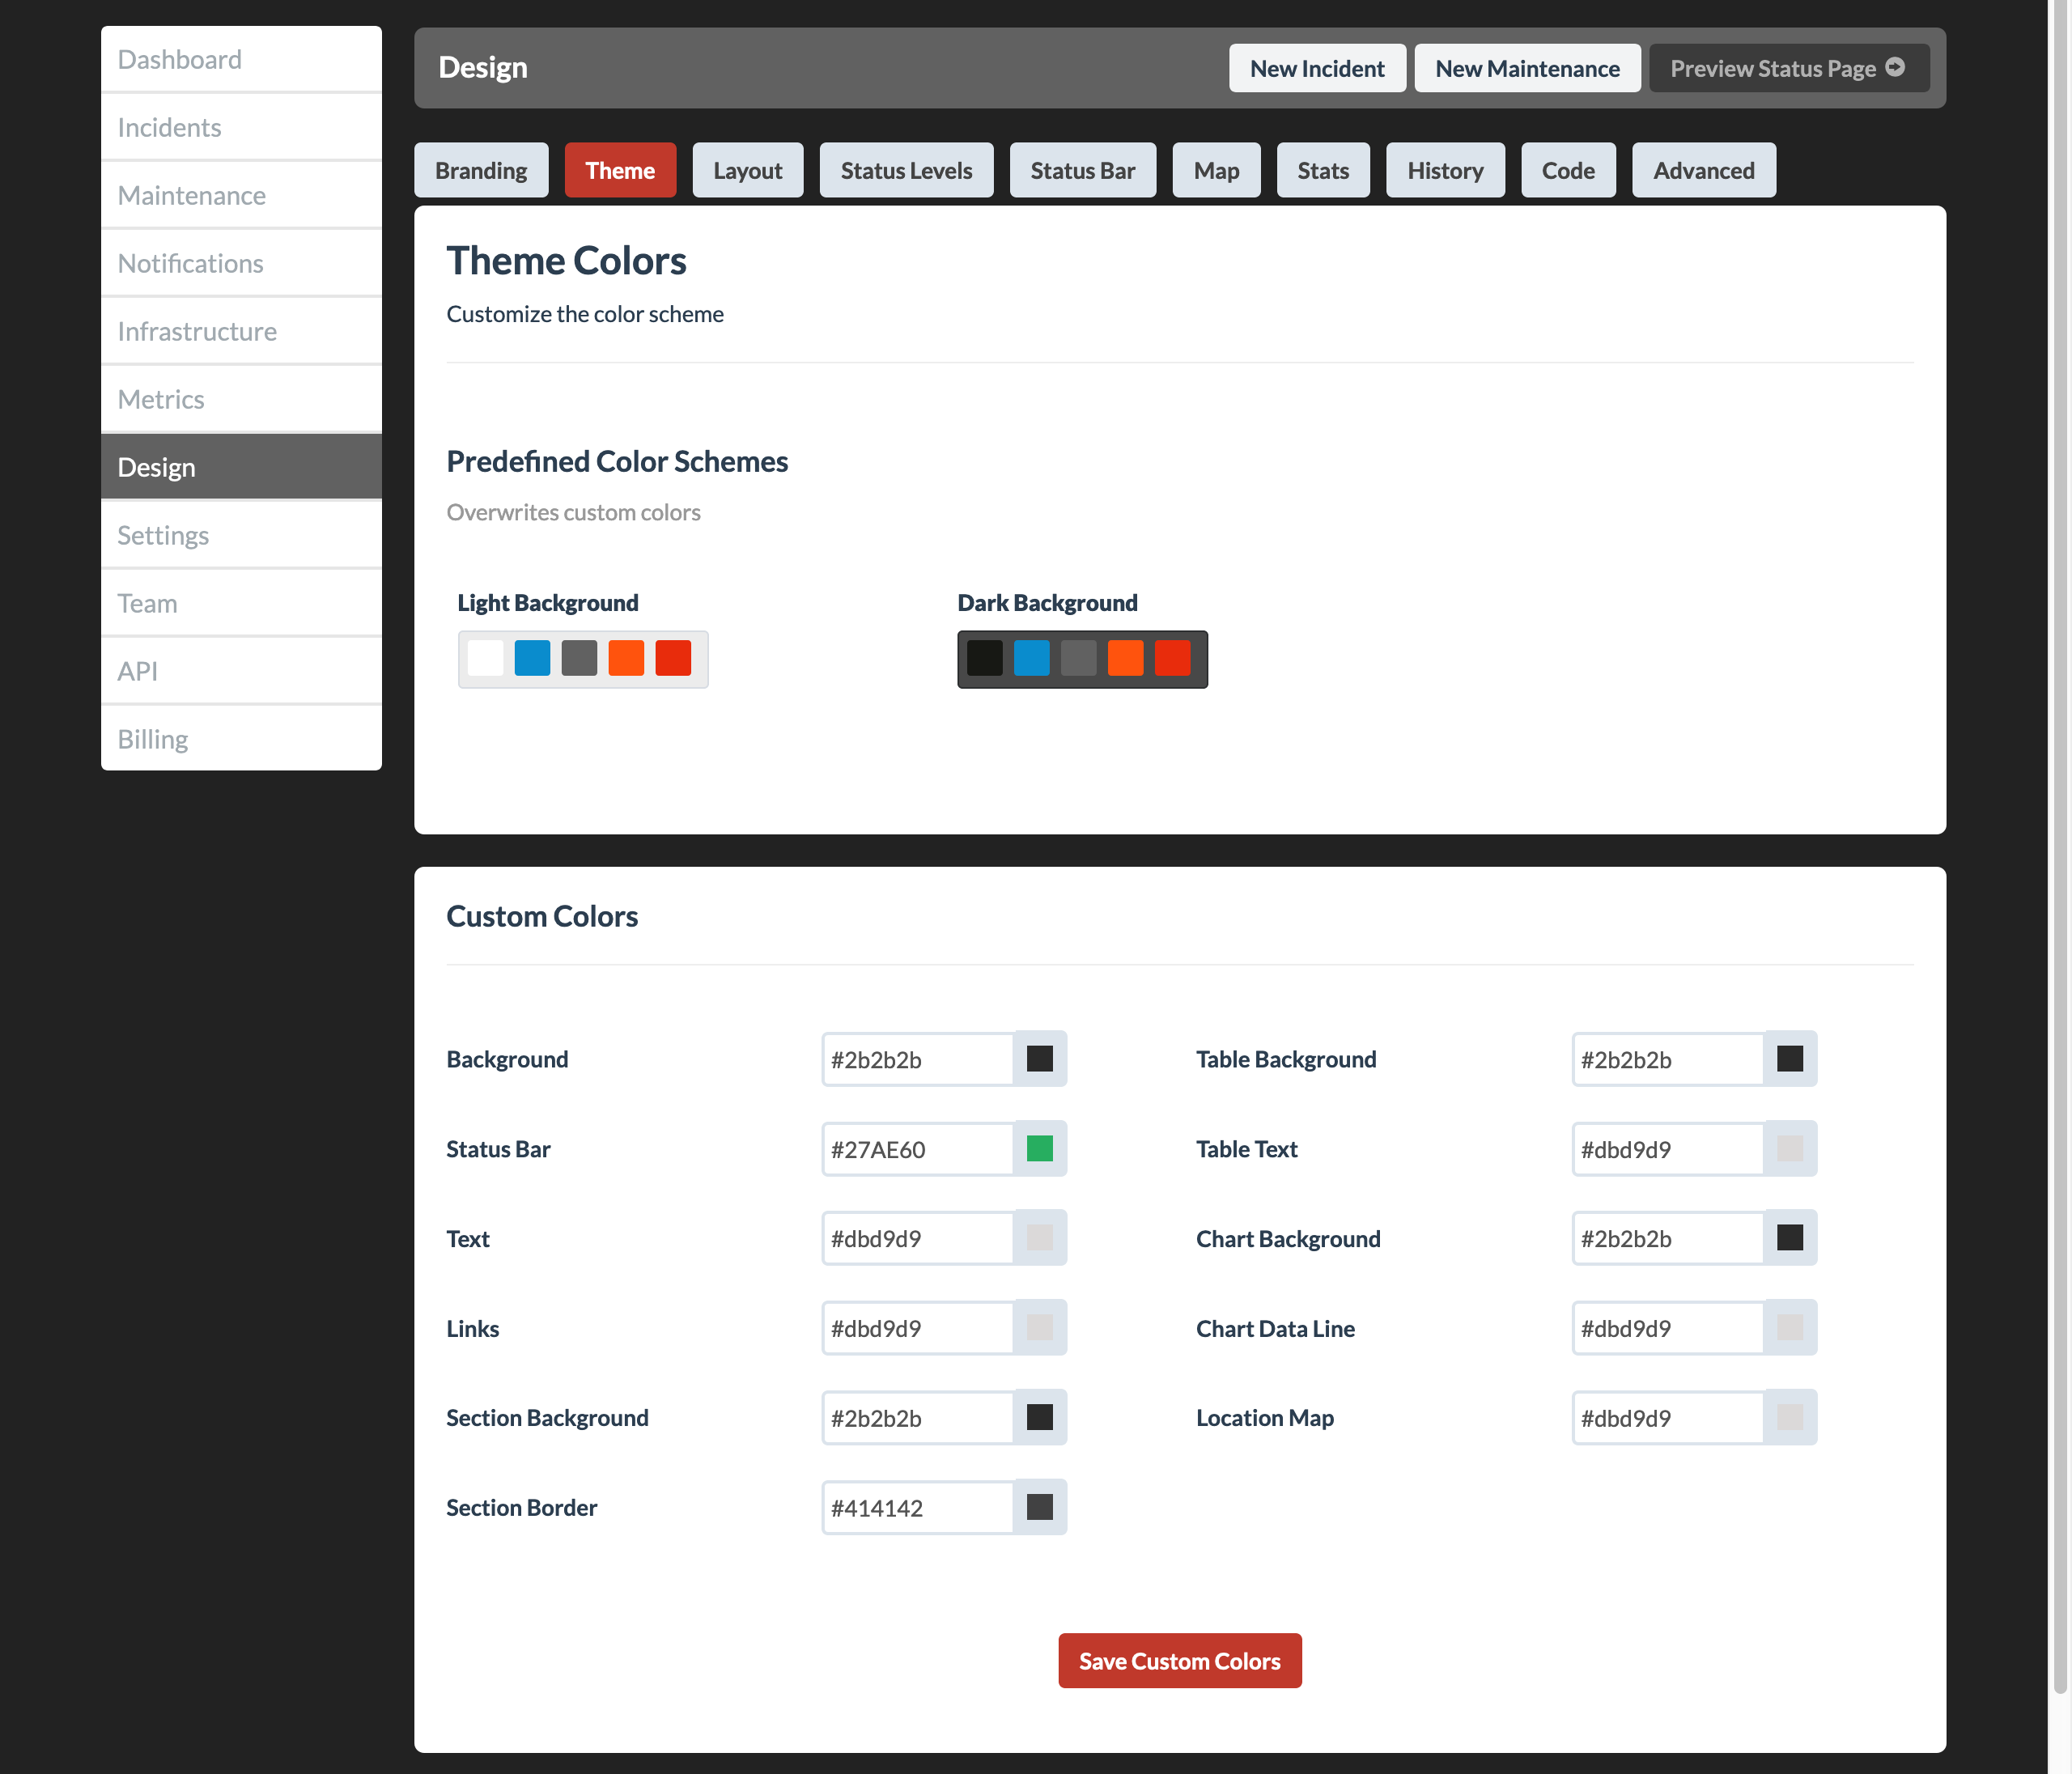
Next, navigate to the Design tab and work through each of the sub-tabs to tailor the appearance of your status page.
• Logo: Upload your company or project logo.
• Colors: Customize the color scheme to match your branding.
• Layout: Adjust visual elements to create the desired look and feel.
Certain sub-tabs, like Custom Code, can be skipped for now and revisited later if you decide to use those advanced features.
This step ensures your status page aligns with your brand and visual identity.

Set Up Your Infrastructure
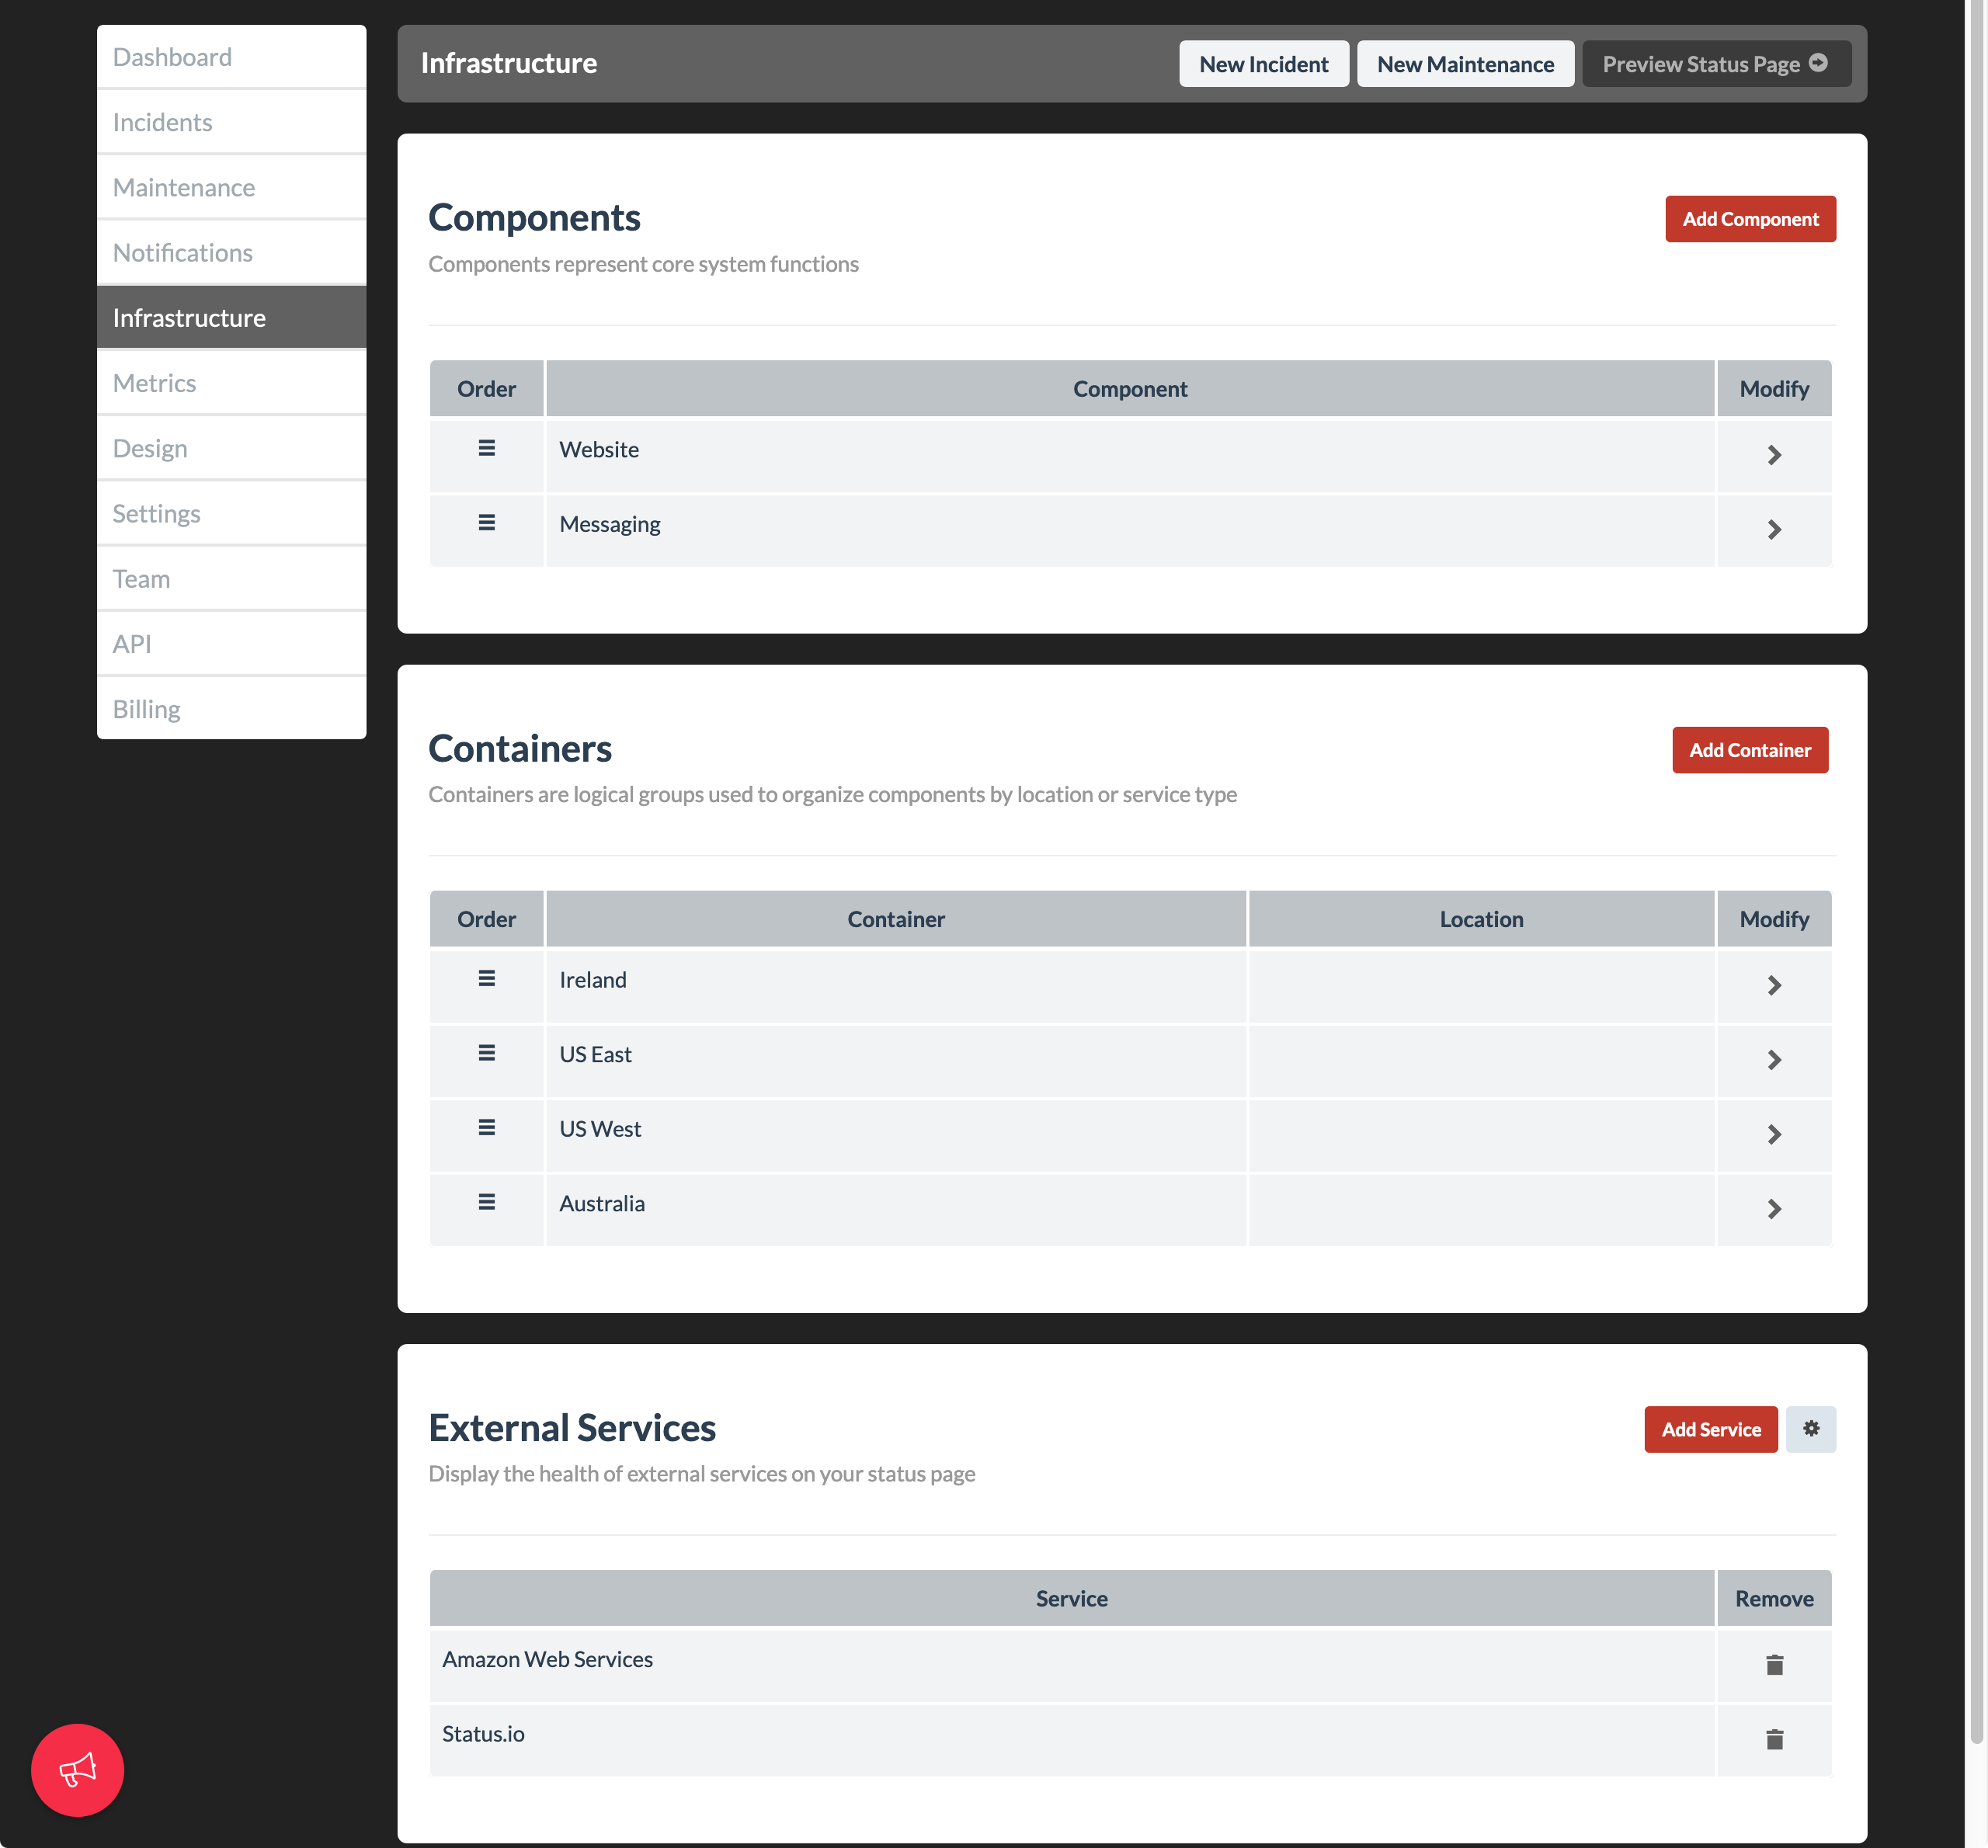
Next, navigate to the Infrastructure tab to configure your components and containers:
• Components represent the primary, high-level functionalities of your system, such as a Web Service, Mobile App, API, or other core system functions that users depend on. They provide the foundation for monitoring and communicating the health of your service.
• Containers are optional, flexible elements that can function as sub-components or represent things like locations, services, or infrastructure segments. They can be linked to multiple components, providing a powerful way to create a granular and interconnected view of your system’s status.
For example:
• A Container might represent a Data Center or a Cloud Region, which could be tied to multiple Components like the Web App and API.
• Similarly, a Container might represent a Database Cluster, serving multiple core functionalities.

Configuring External Services
Additionally, within the Infrastructure tab, you can configure any External Services that you want to display on your status page, providing a complete picture of your system’s status.
Configure Metrics
Proceed to the Metrics section if you want to display performance data or other statistics on your status page.

Configure Notifications
Next, go to the Notifications tab to enable the notification methods you want to use:
• Notification Methods: Activate methods such as SMS, email, or Twitter/X. Some methods require connecting external services (e.g., Twilio for SMS or a Twitter/X account).
• Customize Templates: Optionally, personalize email notification templates to suit your needs. This step is not mandatory and can be revisited later if desired.
This ensures your users stay informed through their preferred communication channels.

Set Up Your Team
Invite team members to collaborate via the Team tab:
• Invite Team Members: Add appropriate team members to help manage and maintain the status page.
• Single Sign-On (SSO): Optionally enable SSO for your team to streamline access and enhance security.
This step can be done at any point, even at the beginning, to allow others to assist with setup.

Manage Events (Incident or Maintenance)
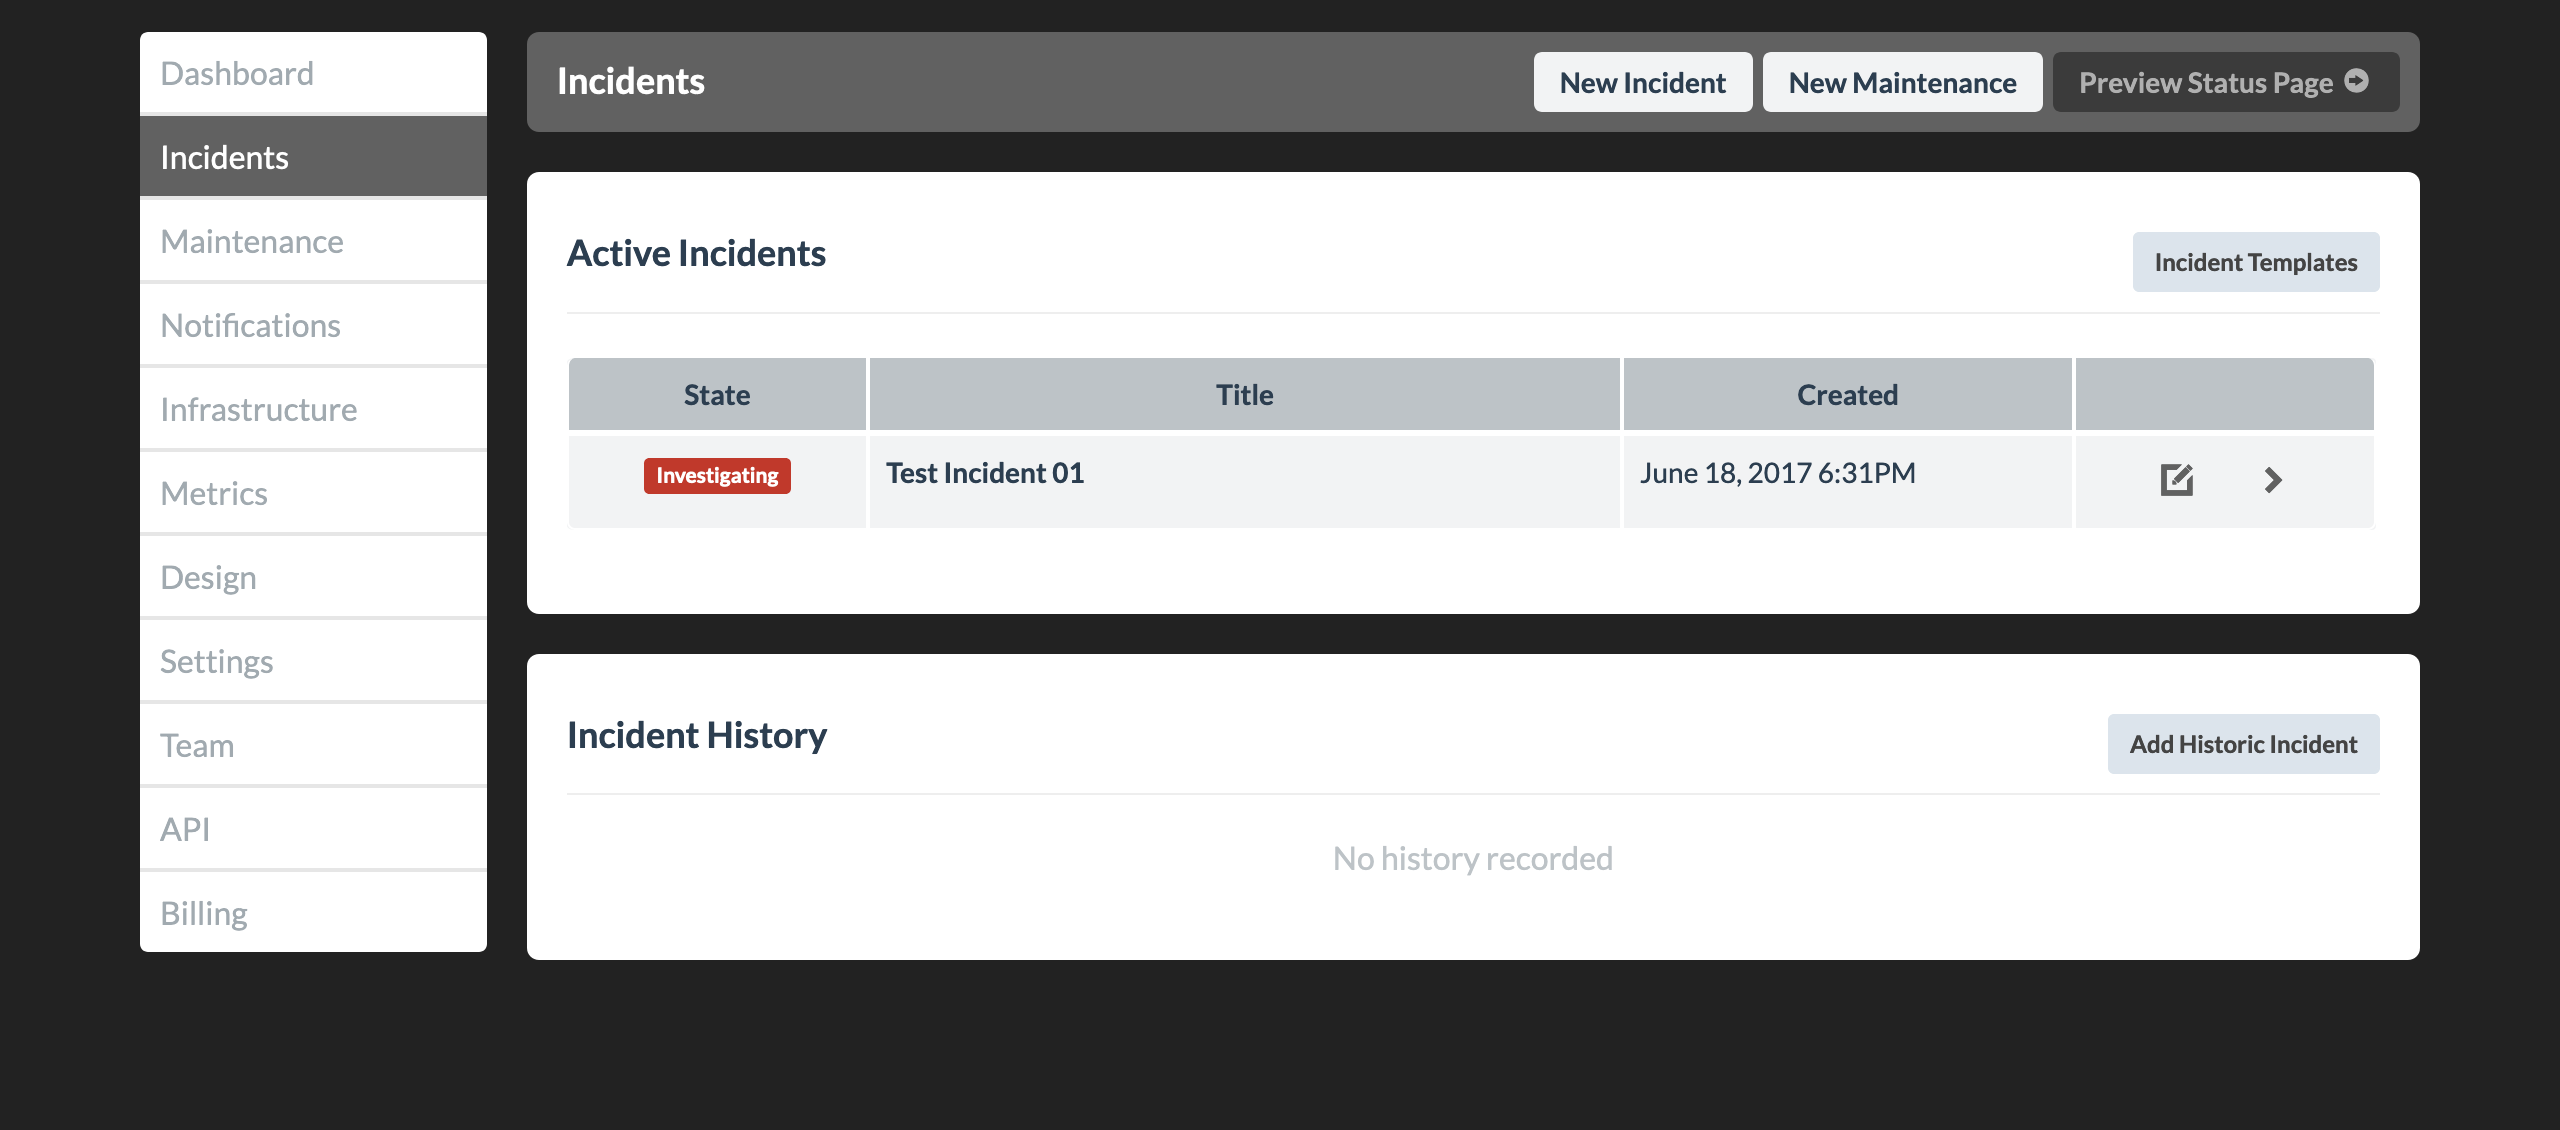
If your status page isn’t live yet, take the opportunity to practice creating an Incident or Maintenance event:
• Test Events: Create test incidents or maintenance events to familiarize yourself with the process. These events can be deleted afterward.
• Backfill Events: Optionally add any historical incident or maintenance events for accurate records and transparency.
Practicing and backfilling ensures you’re prepared to handle real-time events effectively.

Learning More
• Knowledge Base: Visit kb.status.io to explore detailed guides on every Status.io feature.
• Developer Documentation: Check out developer.status.io for guidance on building custom integrations using the Developer API.
• Support: Have questions or need clarification? Feel free to email us—we’re here to help!
